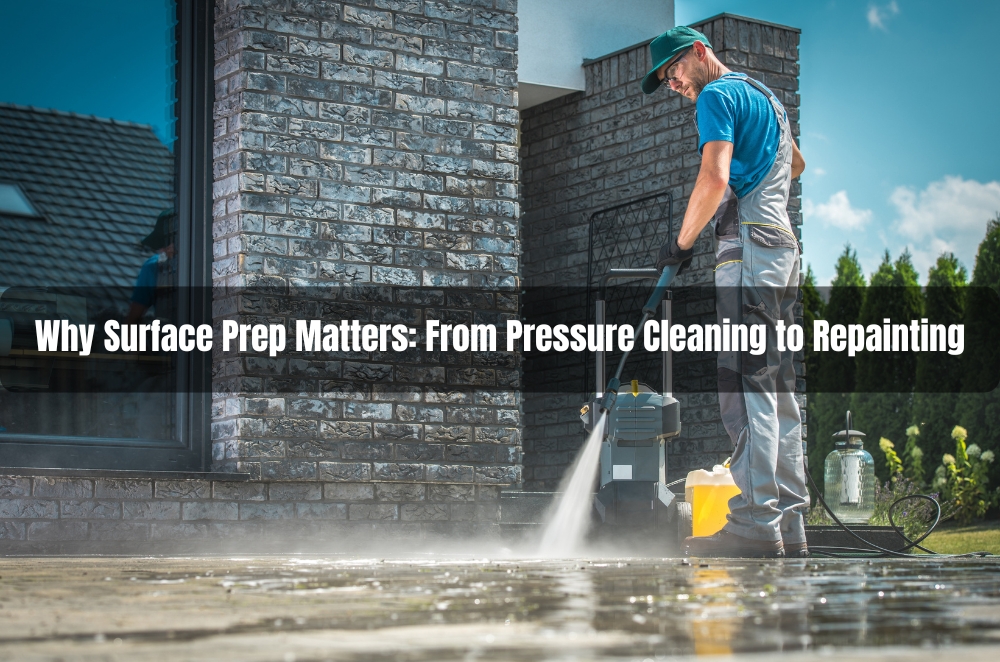
Here’s the short version: paint sticks to conditions, not hope. In Sydney, salt fog rolls in, black fungus clings to shady walls, and dust whips off construction sites. If you don’t fix those conditions first, coatings fail early. That’s why I always start with high pressure cleaning services to flush grime, salts, chalk and mould before any primer goes near the wall. It’s not about blasting harder; it’s about cleaning smarter so primers bond and topcoats do what they’re designed to do.
Think of it like laying pavers. You don’t throw them on loose soil and hope for square. You level, compact, and check edges. Prep makes the work last.
A quick reality check: pressure cleaning isn’t “just a wash”
The Sunday-Bunnings approach is fine for bikes and bins. Exterior substrates are fussier.
- Pressure vs. flow: PSI gets all the attention, but litres per minute actually carry contaminants away.
- Nozzles and standoff: Wide-fan tips, steady distance, consistent passes. Scar a render once, and you’ll see it forever under gloss.
- Chemistry when needed: Degreasers for oil, biocides for mould, pH-neutralising rinses after alkaline/acid cleaners.
- Wastewater control: Keep dirty water out of stormwater. Gutter guards, wet-vac pickup, simple barriers—cheap insurance and the neighbour won’t glare at you.
When the work shifts into serious jetting, it’s worth understanding the risk profile and controls. See national safety guidance on high pressure water jet cleaning services for pressure classes, PPE, exclusion zones, and method statements. The point isn’t to scare anyone. It’s to remind us: good prep is planned, not improvised.
Two Sydney jobs that underline the stakes
Marrickville weatherboards (north face):Looked OK. Till the tape test. Chalk everywhere. We treated mould tucked under eaves, gently cleaned with a wider fan, then allowed a proper dry (windy day helped). Spot-primed bare patches, then a bonding primer across the elevation. Four summers later—still tight. No curling edges, no cupping. The owner joked that the “boring bit” saved the paint.
Dee Why strata courtyard (salt-exposed):The committee wanted a quick lick. We pushed back. Spec called for controlled pressure cleaning, salt neutraliser, breathable masonry primer. The maintenance manager kept our prep photos for warranty records. Post-storm checks since? No sheet peeling, fewer efflorescence blooms. Not glamorous. Just method.
Match the prep to the material (and you’ll sleep better)
- Brick & rendered masonry
- Timber weatherboards & fascia
- Colorbond® and metals
- Concrete and driveways
If you’re chasing roof work down the track, I’ll be linking this explainer when it’s published: water pressure roof cleaning—angles, anchor points, and why too much pressure chews coatings.
The four-stage prep routine (before you even pick a colour)
- Assessment
- Cleaning & decontamination
- Repairs & profile
- Primers by substrate
Only then do we talk about eggshell vs. low-sheen. Rush that sequence, and you gamble with adhesion—every time.
DIY vs. hiring: a tidy rubric
Ask three quick questions:
- Safety: Heights? Fragile substrates? Electricals? If yes, lean pro.
- Equipment: Domestic machines often lack the flow to carry debris out of pores.
- Warranty: Many paint systems need documented prep to keep warranties valid.
If you’re vetting a contractor, try these:
- What’s your cleaning plan by substrate (timber/masonry/metal)?
- How will you manage runoff and protect gardens and stormwater?
- Which primer system are you proposing—and why that one?
You’ll hear the difference between “wash and hope” and a genuine surface-prep plan.
A weekend-friendly mini-process (for a small wall, not the whole house)
- Mask & protect: Power points, door bottoms, plants, cars. Move things.
- Dry scrape first: No point blasting loose flakes into the neighbour’s lemon tree.
- Pre-wet: Reduces chemical shock and streaking.
- Cleaner where needed: Biocide for mould; degreaser for oil. Let it dwell.
- Controlled passes: Wider fan tip, steady sweep, test a discreet spot.
- Neutralise & rinse: If you used chemistry, end on a neutral pH rinse.
- Dry properly: Give it time. Overnight is fine; longer if shaded.
- Spot-prime: Bare or chalky areas get primer, not just “extra thick paint”.
- Topcoat: Stick to the spread rates and recoat windows. Boring, but it works.
Paint failures I see (and how prep would’ve stopped them)
- Peeling sheets on sunny elevations:Usually chalk underneath. Proper cleaning and a bonding primer would’ve stitched that down.
- Blistering near parapets:Trapped moisture. Needed dry-down time and, often, a breathable primer.
- Rust creep at fixings:Skipped de-rust/prime. Spot treatment first; then topcoat.
- Lap marks on timber:Aggressive tips, too close. Lower pressure, wider fan, keep moving.
The money bit: why prep pays for itself
Longer repaint cycles mean fewer litres, fewer weekends on ladders, fewer strata levies burned on emergency touch-ups. Prep doesn’t show off on day one. It saves years two to seven. That’s the bit owners remember when everyone else is repainting… again.
If you’re balancing options and want a neutral explainer to support a budget case, you can point to the benefits of high pressure cleaning service—ideally, a facilities or building-science article that outlines lifecycle gain versus quick fixes.
Final Thoughts
Surface preparation isn’t a flex of pressure. It’s judgment—about materials, weather, chemistry, and timing. Clean what matters, protect what’s delicate, give primers a fair shot, and manage the mess like a grown-up. Do that, and the paint film won’t be fighting the wall; it’ll become part of it. If you want a clear picture of what’s included in a professional clean before you repaint, start with high-pressure cleaning services, so you know exactly what should happen before the first drop hits the brick.