Thinking about a fresh, modern render without the hairline cracks? You’re not alone. If you want a done-for-you path while you read, browsing acrylic rendering services in Sydney will give you a feel for the scope and pricing. This guide keeps things practical: what acrylic render actually is, how to prep properly, where weatherproofing does (and doesn’t) come from, application sequences that work, and how to choose finishes that age well.
Understand the material (and why it’s different)
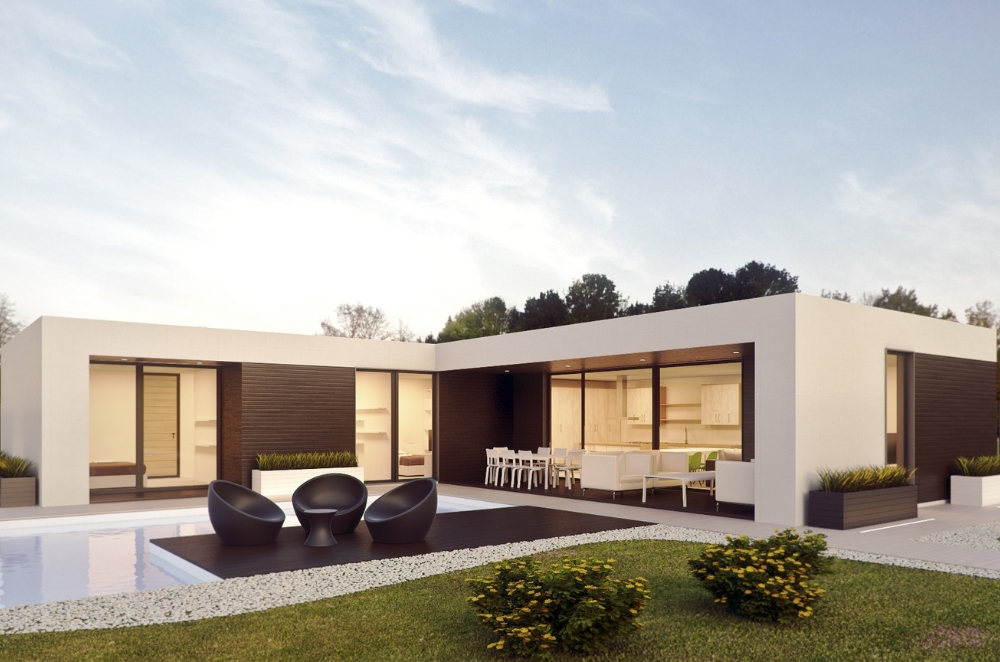
Traditional cement render is a sand–cement mix that cures hard, great for rigidity, not amazing for micro-movement. Acrylic render is a mineral aggregate blended with polymer binders. That polymer gives you flexibility and adhesion, so it rides out minor substrate movement and resists cracking on light-weight claddings and mixed substrates. It also opens the door to fine, consistent textures, quicker re-coat windows, and a wider colour system when you top it with acrylic or elastomeric paint.
Field note: On a coastal semi in Coogee, the south wall copped salt and wind. Switching from a cement scratch/float to acrylic over a fibre-cement base cut the hairline crazing we’d battled for years. Same look, less maintenance.
Prep and substrate detailing (where jobs live or die)
Render hides sins for a week, then tells the truth. Slow down here.
- Assess the substrate: Brick, block, FC sheeting, Hebel, painted masonry — each needs a specific primer/key coat and, sometimes, mesh.
- Cracks and movement: Bridge live cracks with alkaline-resistant mesh and the system’s base coat; don’t rely on a finish coat to hide them.
- Dryness and cleanliness: Dust, chalky paint and efflorescence kill adhesion. Wash, abrade, or etch back to sound material.
- Control joints: Honour existing joints and add new ones where spans demand it. Acrylic is flexible, not magic.
- Corners and edges: Set beads true; straight lines + consistent thickness = pro finish.
On a Ryde duplex re-render, a hairline that kept reappearing turned out to be a missed control joint above a window lintel. We cut in the joint, meshed the returns, and the crack never came back.
Weatherproofing and compliance (what render can and can’t do)
Acrylic render helps shed water, but your weatherproofing comes from the wall system as a whole: cladding, membranes, flashings, sarking, and junction detailing. The National Construction Code’s weatherproofing provisions (e.g., F3 and Verification Method F3V1) focus on keeping water out through tested systems and correct detailing — not just a single coating. If you’re wondering “is acrylic render waterproof?”, the short answer is: it’s part of the defence, not the whole wall. Use system-compatible primers, mesh, sealants and flashings at penetrations, and follow the render manufacturer’s system specs so you’re contributing to compliance, not guessing.
Quick compliance cue: where a wall must be non-combustible (Type A/B external walls), any render used as part of a Deemed-to-Satisfy solution has to align with those requirements. Check the NCC guidance before you specify a system for those buildings.
Application sequence that rarely fails
A consistent, boring process beats heroics.
- Prime/key the substrate: Use the system primer (grit/bond type) suited to masonry, FC, or AAC.
- Base coat + mesh (where required): Embed alkali-resistant mesh through the stress zones — corners of openings, dissimilar material junctions, control-joint edges.
- Build thickness in passes: Follow data-sheet limits for per-coat thickness; let each pass firm up before the next.
- Straighten, then texture: Get flatness first with a float pass; apply your chosen texture after the plane is true.
- Cure and protect: Keep wind and blazing sun off early coats; avoid hose-downs or heavy mists that mark the surface.
- Topcoat correctly: Finish with the specified acrylic or elastomeric paint system. That’s where much of the UV, colourfastness and extra water shedding comes from.
Common mistakes to dodge
- Chasing a finish coat to hide a wonky substrate. Fix flatness before you texture.
- Skipping mesh on mixed substrates. It will print back as a crack.
- Painting too soon. Trap moisture and you’ll get blistering or efflorescence.
- Ignoring flashing around lights, taps and meter boxes. Those tiny penetrations are leak magnets.
Finish options and where they shine
Acrylic systems aren’t one-size-fits-all. Pick with intent.
- Smooth/parget: Sleek, modern, shows every plane — best where your set-out is perfect.
- Floated (medium): Classic, light texture that hides minor waviness without looking busy.
- Tuscan/dragged: Strong directional texture; use sparingly or to break up long walls.
- Fine-grit “bagged” look: Softens hard brick/block while staying contemporary.
- Coloured topcoats: Acrylic/elastomeric paints over acrylic render handle UV and add washability; stick to lightfast, exterior-rated systems.
Want a deeper, product-agnostic explainer you can link from your site? Park this read and build an internal piece on acrylic render finishes.
Maintenance, cleaning and small repairs
- Wash, don’t blast: Low-pressure rinse and a soft brush. High-pressure jets scar texture.
- Watch edges and sills: Touch up early if paint lifts at drip edges or parapets; that’s where weather finds a way in.
- Hairlines: If they appear, check for movement, then use system sealers/fillers — not random gap filler from the bottom drawer.
- Re-coat timing: Follow the paint system’s maintenance interval, especially on coastal or west-facing walls.
Acrylic or cement render — and when to choose which
- Choose acrylic when: you’ve got fibre-cement or AAC, minor building movement, or you want fine, consistent textures with a broader colour system.
- Choose cement when: solid masonry needs a robust, breathable base, or you’re matching heritage textures that want a mineral look from the get-go.
- Hybrids work: Cement scratch/float to straighten, acrylic skim/finish for stability and texture — common on mixed substrates.
For a neutral explainer you can reference from your post, add acrylic vs cement render.
Hiring checklist (so you don’t inherit problems)
- System, not “a product”: Ask which primer, base, mesh, finish and paint form the system, and get data sheets.
- Joints and junctions: Where will they put control joints? How are they treating penetrations and dissimilar materials?
- Weather plan: What’s the crew’s plan for wind, heat, or rain interruptions?
- Samples on your wall: One square metre in the actual light beats any brochure.
- Documentation: Photos of substrate prep and mesh zones + product batch numbers; priceless later.
If you decide to hand it off end-to-end, short-list via acrylic rendering services and ask bidders for (1) a mesh map, (2) a wet-weather plan, and (3) their preferred topcoat system — and why.
Final thoughts
Acrylic render earns its keep by adding flexibility, adhesion and finish options — but only as part of a correctly detailed wall. Get the substrate clean and stable, respect joints, use the right mesh and primers, and finish with a proven exterior paint system. Treat weatherproofing as a whole-wall outcome guided by the NCC (not a single miracle coat), and your elevation will look sharp for years rather than months.
