
Some jobs at home renovations have you convinced you are some kind of wizard, magic-ing a room out of the most minor alterations. Fitting frameless shower screens is undoubtedly one of those, for instance. Think this way: flat glass, newly look, and that click of triumph when the lot finally clips together. It's a jigsaw, you see, put together, but with missing pieces (and the pieces that never, ever seem to fit). Ready to enter glass shower screen heaven? These designer and functional little extras can make your bathroom a haven of calm and a room of space. Don't worry if you don't know the ropes; we will walk you through them step by step so your bathroom will be shipshape without fear of jargon gobbledygook or scary instructions.
What is a frameless shower screen?
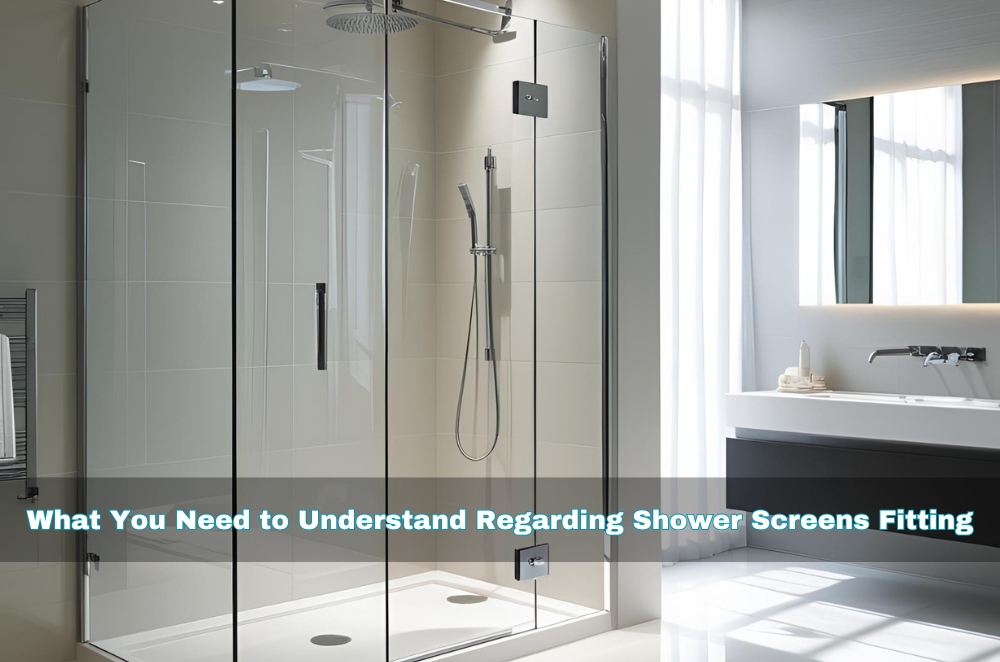
The answer is yes if a frameless shower screen is just a buzz term or a game changer! A frameless shower screen is a fashionable design option with glass panels supported by unobtrusive fixtures but no clunky metal frames. This style is streamlined, minimalist, and often used to make the most of the visual space available in bathrooms, especially small ones.
Why would one move away from traditional framed screens?
Well, it's a matter of personal taste. Frameless screens have a more airy, open atmosphere. They're also simple to clean; there are no annoying corners and crevices for mould growth. The beauty of these screens is that they're simple, allowing the glass to be the centre of attention and giving an uninterrupted view.
Things to consider when it comes to frameless shower screens:
- They're tempered glass, so they're safe and strong.
- They're frameless, so they're sleek and modern-looking.
- They're easy to clean—just wipe 'em down, and you're set.
- Perfect for open-plan bathrooms or areas where you want to add a touch of luxury.
Reading so far? Let's get some ideas on how to get inspiration for your installation.
Tools you'll need to install
Fitting frameless shower screens is not brain surgery; you need a little preparation. You don't have to be a pro, but need the right equipment. This is what you'll need for a successful shower screen installation in Australia:
- Measuring tape: Precision is essential. A quarter of an inch out could cause your screen to rattle!
- Screwdrivers: Flatheads and Phillips heads will prove helpful.
- Level: You'll use one to level your screens nicely and straight, rather than at a wobbly angle like that pesky party host.
- Silicone sealant: This is used to seal the edges water-tight.
- Shower screen panels: You can choose your glass here: clear, frosted, or tinted? Decide what you feel will be best for your bathroom.
- Wall anchors: You can get your screen securely fixed to the wall.
And when you store your tools away, don't overlook double-checking your measurements.
Advice for tool preparation in a rush:
- Double-check your measurements before cutting or drilling.
- Guard yourself with gloves so that the glass won't cut you.
- Don't rush; working slowly could save you from errors or damage.
The installation process
Okay, now on to the nuts and bolts of the installation. If you're not a pro, this will be time-consuming, but don't fret, we'll be with you every step of the way.
Measure the area
This is where things get serious. Get your measuring tape out and find out exactly how wide and tall your shower opening is. Write down the measurements because any error here will make your shower screen too big or too small.
Prepare the floor and wall
Ensure your floor and wall are dry and free of dust or dirt before you install your screen. This will prevent the silicone from sticking or sliding. You don't want your gorgeous frameless screen to be taken out later!
Put the brackets in the positions on the wall as indicated
Fix the brackets by drilling holes and screwing them tightly. These brackets will fix your glass panels securely, which is the most essential step.
Install the glass panels
Carefully place the glass panels into position, sliding them into the brackets. The glass is heavy, so this is a job to do with two people or more. When the glass is in the correct position, make sure it's level before tightening using screws.
Seal edges
Once the glass is in place, a bead of silicone sealant will need to be applied along the edges where the glass meets the wall and floor. This will seal the shower screen and prevent water from entering and damaging the surrounding surfaces.
Test for stability
Shake the shower screen gently to check that everything is firmly attached. A properly installed frameless shower screen should feel solid and stable with no movement.
Pro tips for installation:
- Double-check the level after each step.
- Don’t rush the sealant, it needs time to cure before the shower.
- Getting a professional installer is always safer if you’re unsure about handling the glass.
Keeping up with shower screen trends can also mean selecting the right products for long-term care. Whether it's advanced glass treatments or innovative cleaning solutions, staying updated on trends can help you easily maintain your screen.
Maintenance and care tips for frameless shower screens
Now that your frameless shower screen looks fabulous, let's discuss maintaining it. They don't need much, but just some hints on how to keep them in tip-top condition:
Daily cleaning:
Wipe down your glass after each shower to stop soap scum buildup. Use a gentle glass cleaner and a microfiber cloth so as not to scratch the surface.
Prevent water spots:
Dry the glass with a towel after each shower to prevent water spots. Or apply a water-repellent coating to the glass to reduce spotting.
Check the seals:
Inspect the silicone seals every three or four months to verify that they continue to seal well and exhibit no wear. Replace as needed to seal the waterproof layer.
Quick maintenance list:
- Keep the glass deposit-free by cleaning it frequently.
- Clean it down after every shower to stop water spots.
- Inspect the seals frequently to provide waterproofing.
But, if you ever require aid, it is always advisable to have it professionally fitted or fixed.
Conclusion
Installing a frameless shower screen in your bathroom isn't simply about having a stylish and modern bathroom; it's about making your space look great and functional. With patience, attention to instructions, and proper maintenance for your screen, you'll have an easy, long-lasting shower screen that will improve your home. Ready to roll? Remember the fundamentals: proper measurement, a sure hand, and a decent toolbox. You're ready to roll!
