This is a post for beginners who want to experiment with Farcaster Frames. I'm planning to release a series of posts walking through, in excruciating detail, the process of building Frames, deploying them, testing them, and using them. If you're a developer and are quick learner you might be more interested in Nader Dabit's video.
In this first post, we'll focus on simply deploying a boilerplate Frame using Vercel and testing it with Farcaster's Frame Validator. You will need GitHub, Vercel, and Farcaster (via Warpcast) accounts to complete this tutorial. This tutorial assumes that you don't have very much experience with GitHub forks and templates and deploying with Vercel, so I describe every step.
Farcaster Frames
If you've been following the latest in Web3 social, you'll have heard about Farcaster and one of the unique features they've enabled called Frames. The spec is here. Also, check out this post by Antonio García Martínez.
A Frame in 100 Lines
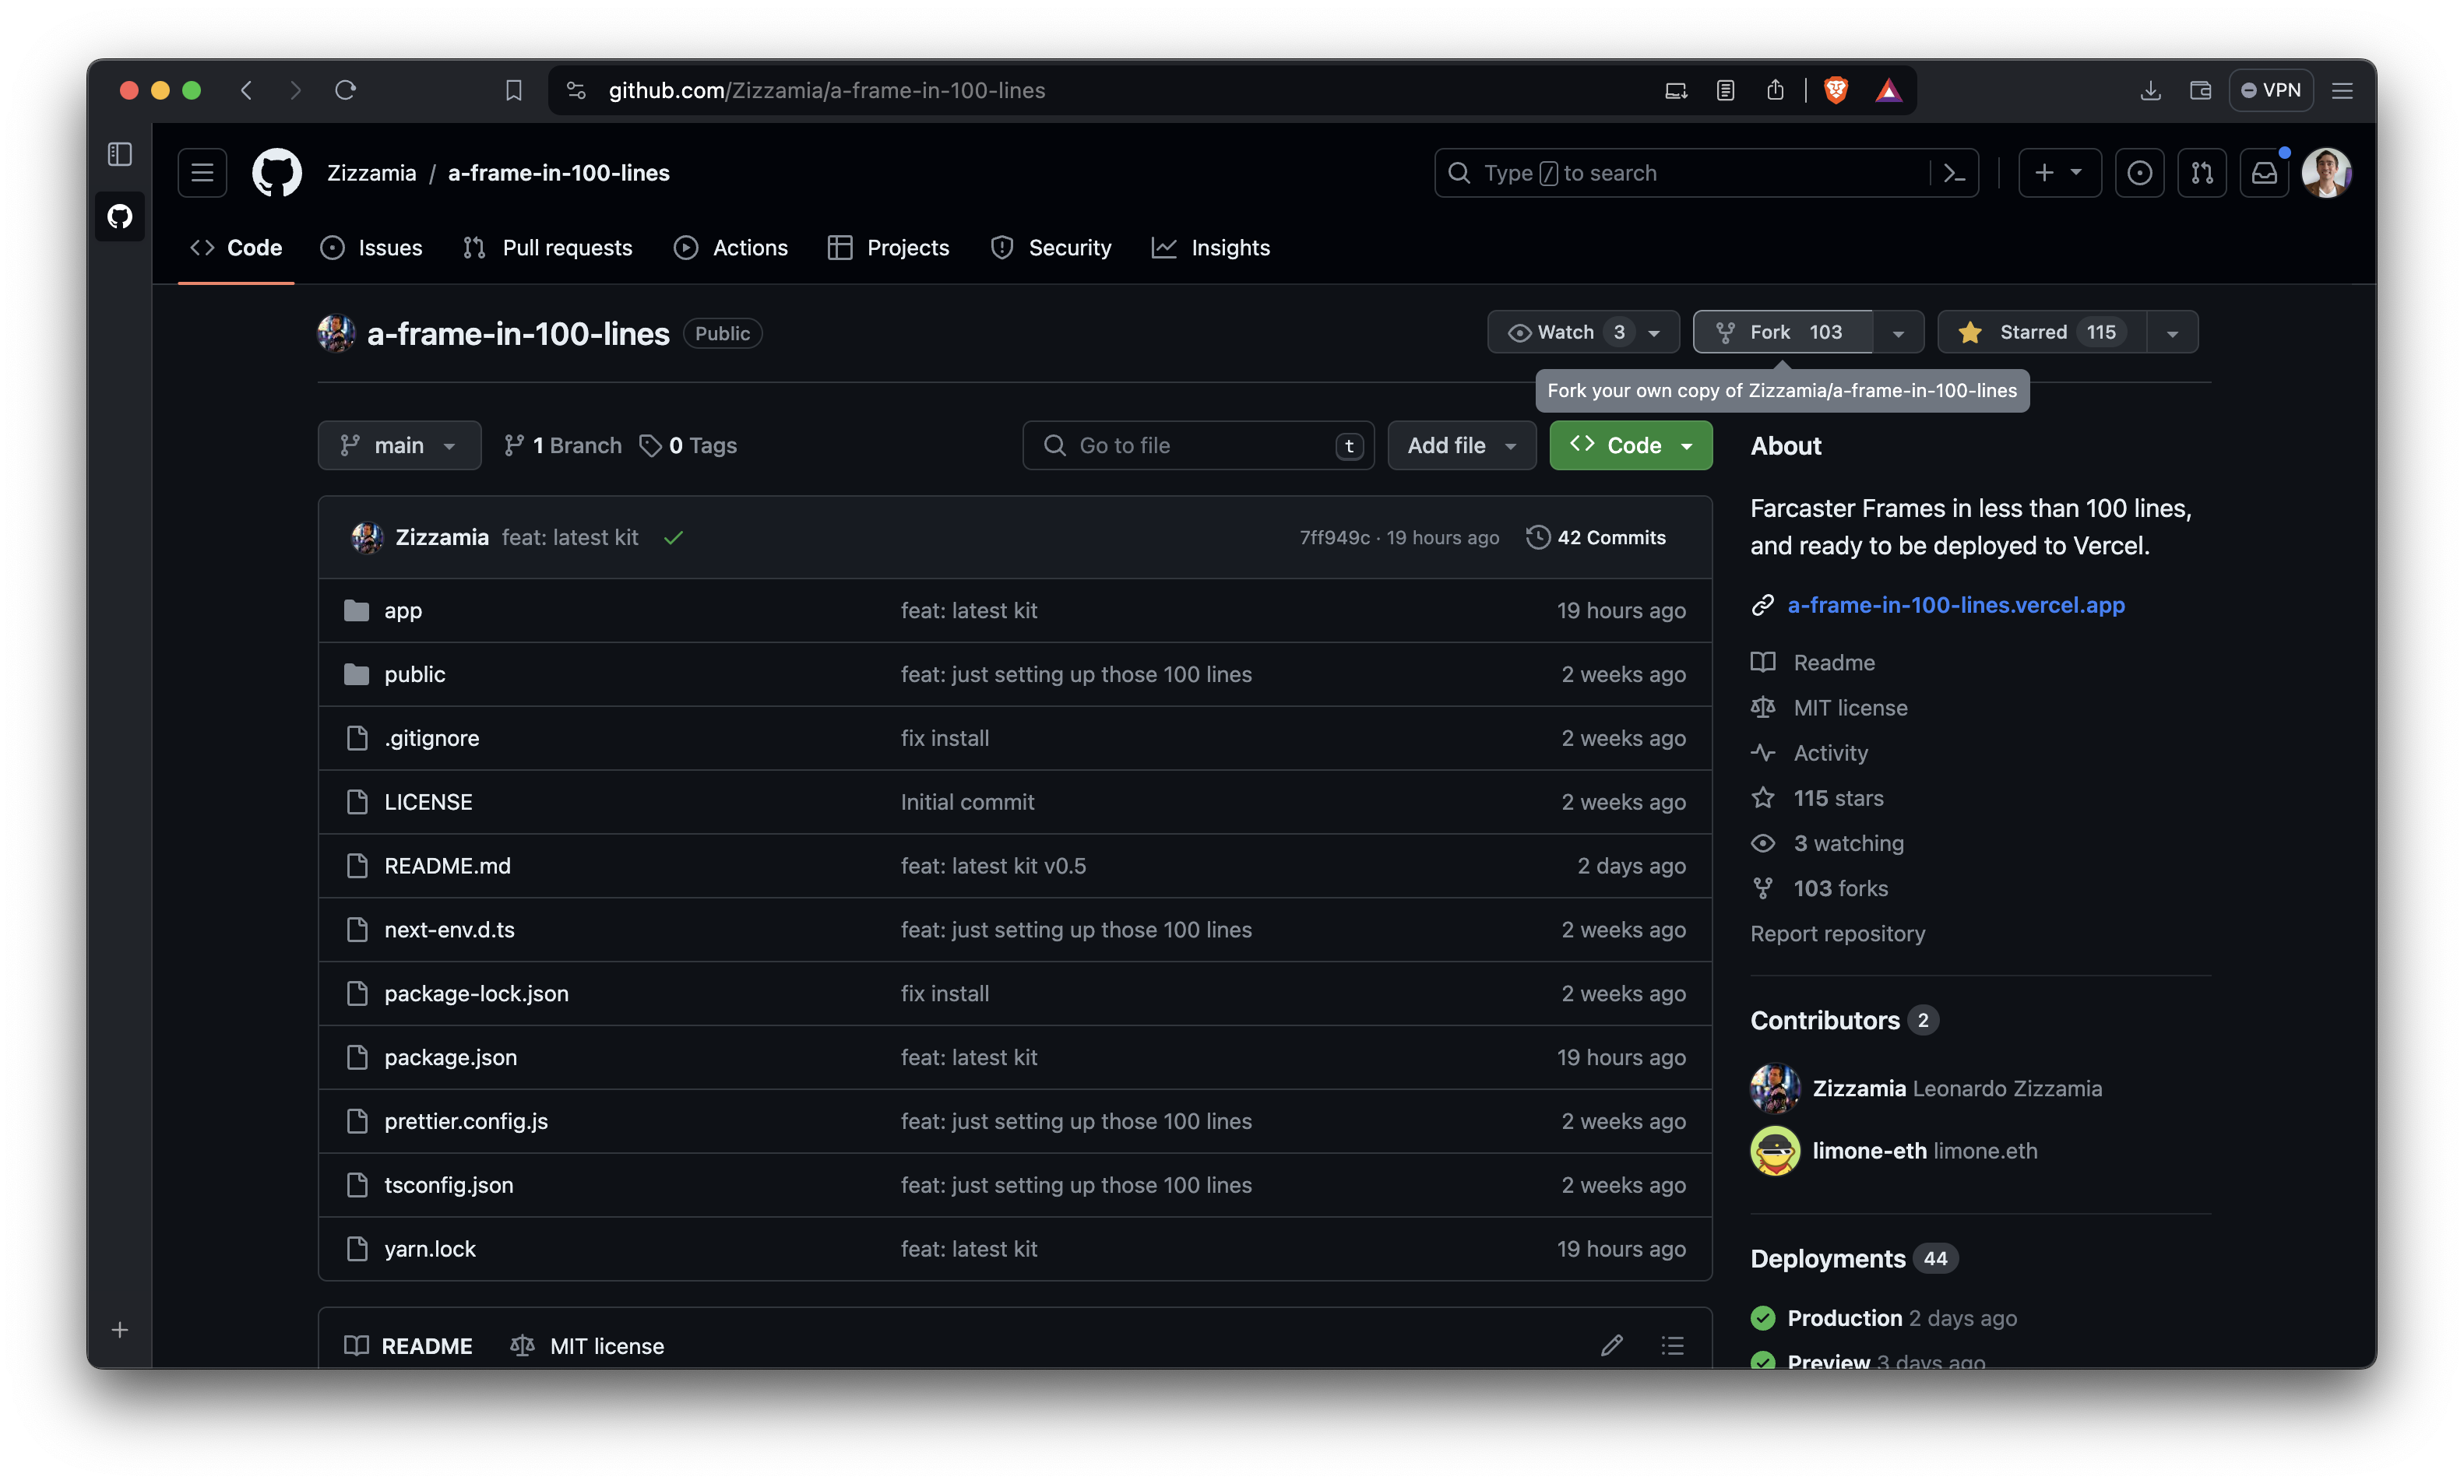
Our starting point is Zizzamia and the team's a-frame-in-100-lines codebase. For now, we're not going to dig into the details about the code, how it works, how we can modify it, etc. All we're going to do is use GitHub to Fork the code and then use our fork as a template to build new frames from.
Creating a Fork
First, log in to your GitHub account then navigate to a-frame-in-100-lines repo, here. Click on the Fork button to start the process.
This brings up the options for creating a new fork. You can set the owner, e.g. your account or an organization, etc. You can set the name of the new repo you'll be creating and change the description; if you change nothing then the name and description will be the same as the repo you're forking from. I didn't change any of the defaults.
To start the fork, click the Create fork button.
After clicking you should see this page:
Once the fork is finished, you should redirected to the new repo you just created. The name will be what you specified when creating the fork and you will see a note that the code was forked from Zizzamia/a-frame-in-100-lines.
Congratulations! You've successfully forked a repo!
Defining a Template Repo
You are creative! And you are going to be building all kinds of experimental frames. We want a common starting place, that you control, for all your experiments. To do this, we are going to turn the repo you just forked into a Template repo.
Navigate to the repo you just forked and click on the Settings button in the upper right corner.
You should be redirected to the General settings page. On this page, click on the Template repository box. The box should be filled in and you should see a green checkmark next to Template repository, indicating that the process was successful.
Now navigate back to your forked repo. You should now see a green button labeled Use this template. If you do, congratulations! You now have a template to build all your new and exciting Farcaster Frames.
Creating a new repository from your template
We're now ready to create a new repository to use for experimenting with frames.
To get started, click on the green Use this template button. You should see an option to create a new repository or open in a codespace. Click on Create a new repository.
You should be redirected to a page to add details about your new repository. Add the required details: owner (a drop-down menu with, e.g. yourself or your orgs) and the Repository name. You can also add a description of the project and define the visibility of the project (Public or Private).
When you're ready, click Create repository.
After a few seconds, you should be redirected to your new repository. You can confirm the project name and that it was generated from your template.
Congratulations! You are ready to start playing with Frames!
Deploying to Vercel
One of the great things about a-frame-in-100-lines is that it is ready to deploy, using Vercel, out of the box! Let's see how we can do this.
First, navigate to your Vercel account. Assuming you haven't deployed any previous projects, you should see the following screen:
We are going to be deploying the project you just created. Click on Import to start importing the project from your GitHub account.
You should see a list of repositories associated with your GitHub account:
Click the Import button next to the repo you created for experimenting with Frames. Note that your template repository will also be listed, don't import this one. For example, my experimental repo is called simple-frame above.
After clicking Import, you should see the page for configuring your project. You don't need to change anything here, just click Deploy. Easy!
After clicking Deploy you should see some status indicators showing that the project is Building, Deploying, etc.
After a few seconds, your project should be deployed and you should see the following page. Congratulations! You have deployed your project. You can now click on Continue to Dashboard to see information about the project you've jsut
On your project dashboard, you can see information like where your project is deployed (Deployment), the deployment status, etc. You can also click on the Visit button to see the Frame webpage. As this is just a simple example, there's not much to see on the page.
At this point, you are almost ready to start testing your frame with Warpcast's dev tools. As I was playing around with these tools, I found one setting I needed to change to properly render my frame. We need to disable Vercel Authentication.
To do this, from your project dashboard click Settings. Then click on the Deployment Protection side menu item. Disable Vercel Authentication by toggling the switch and then click Save.
Congratulations! You are now ready to render your Frame!
Testing with Warpcast Frame Validator
Warpcast provides a simple tool for testing Frames. The tool is located at https://warpcast.com/~/developers/frames.
To test your Frame, first copy the URL from your Vercel project dashboard by clicking on the three vertical dots next to Visit button and then clicking copy URL.
Then, navigate to the Frame Validator. Note that you must be logged into Warpcast to use this tool
Paste your URL into the box and click Load.
If everything was successful, you should see the following page, displaying the default image associated with the frame and buttons, along with status indicators confirming that all the Frame metadata has been correctly configured and rendered.
If you see a page that matches the images above, congratulations! You have successfully rendered your first Frame!
You can now start modifying and experimenting with your project to create new and exciting Frames!
Up Next
In the next post, we'll dig into the a-frame-in-100-lines code in detail, highlighting what we need to modify and how to make new frames.
